环境信息
4 节点,每个节点 4块盘,挂载目录 /mnt/minio{1..4}1
2
3
4
5
6192.168.2.144 minio1
192.168.2.145 minio2
192.168.2.146 minio3
192.168.2.147 minio4
192.168.2.143 registry.harbor.com # 使用 harbor 对接 minio
每台机器上均安装了 docker 和 docker-compose
安装 minio
因为要垮节点,使用 host 网络
docker-compose.yml 所有节点相同
192.168.2.144:8998 可以写成 minio1:8998, 我图方便没有去各个节点修改 /etc/hosts
所有节点均相同1
2
3
4
5
6
7
8
9
10
11
12
13
14
15services:
minio:
image: quay.io/minio/minio:latest
network_mode: "host"
volumes:
- /mnt/minio1:/minio1
- /mnt/minio2:/minio2
- /mnt/minio3:/minio3
- /mnt/minio4:/minio4
environment:
MINIO_ROOT_USER: "minio"
MINIO_ROOT_PASSWORD: "minioadmin"
MINIO_OPTS: "--console-address :9001"
MINIO_PORT: "8998"
command: server --address ":8998" --console-address ":9001" http://192.168.2.144:8998/minio{1...4} http://192.168.2.145:8998/minio{1...4} http://192.168.2.146:8998/minio{1...4} http://192.168.2.147:8998/minio{1...4}
docker-compose -d 启动
使用 nginx 代理
192.168.2.143 机器上1
2
3
4
5
6
7
8
9
10
11
12
13
14
15
16
17
18
19
20upstream minio{
server 192.168.2.144:8998;
server 192.168.2.145:8998;
server 192.168.2.146:8998;
server 192.168.2.147:8998;
}
server {
listen 9000;
server_name minio;
location / {
proxy_pass http://minio;
proxy_set_header Host $http_host;
client_max_body_size 1000m;
}
}
测试
192.168.2.143 上测试
下载 mc, 加入到 PATH 中,并添加 minio-server host1
2
3
4
5wget https://dl.min.io/client/mc/release/linux-amd64/mc
chmod +x mc
mv mc /usr/local/bin/
mc config host add minio-server http://192.168.2.143:8998 minio minioadmin
创建桶 harbor
1 | mc mb minio-server/harbor |
对接
1 | data_volume: /data |
启动后推送查看
1 | mc tree minio-server/harbor |
下载整个 bucket
1 | mc mirror minio-server/harbor ./local-harbor |
上传到新的 bucket test
1 | root@ubuntu:~/# mc mb minio-server/test |
其他 操作基本与 linux 下类似
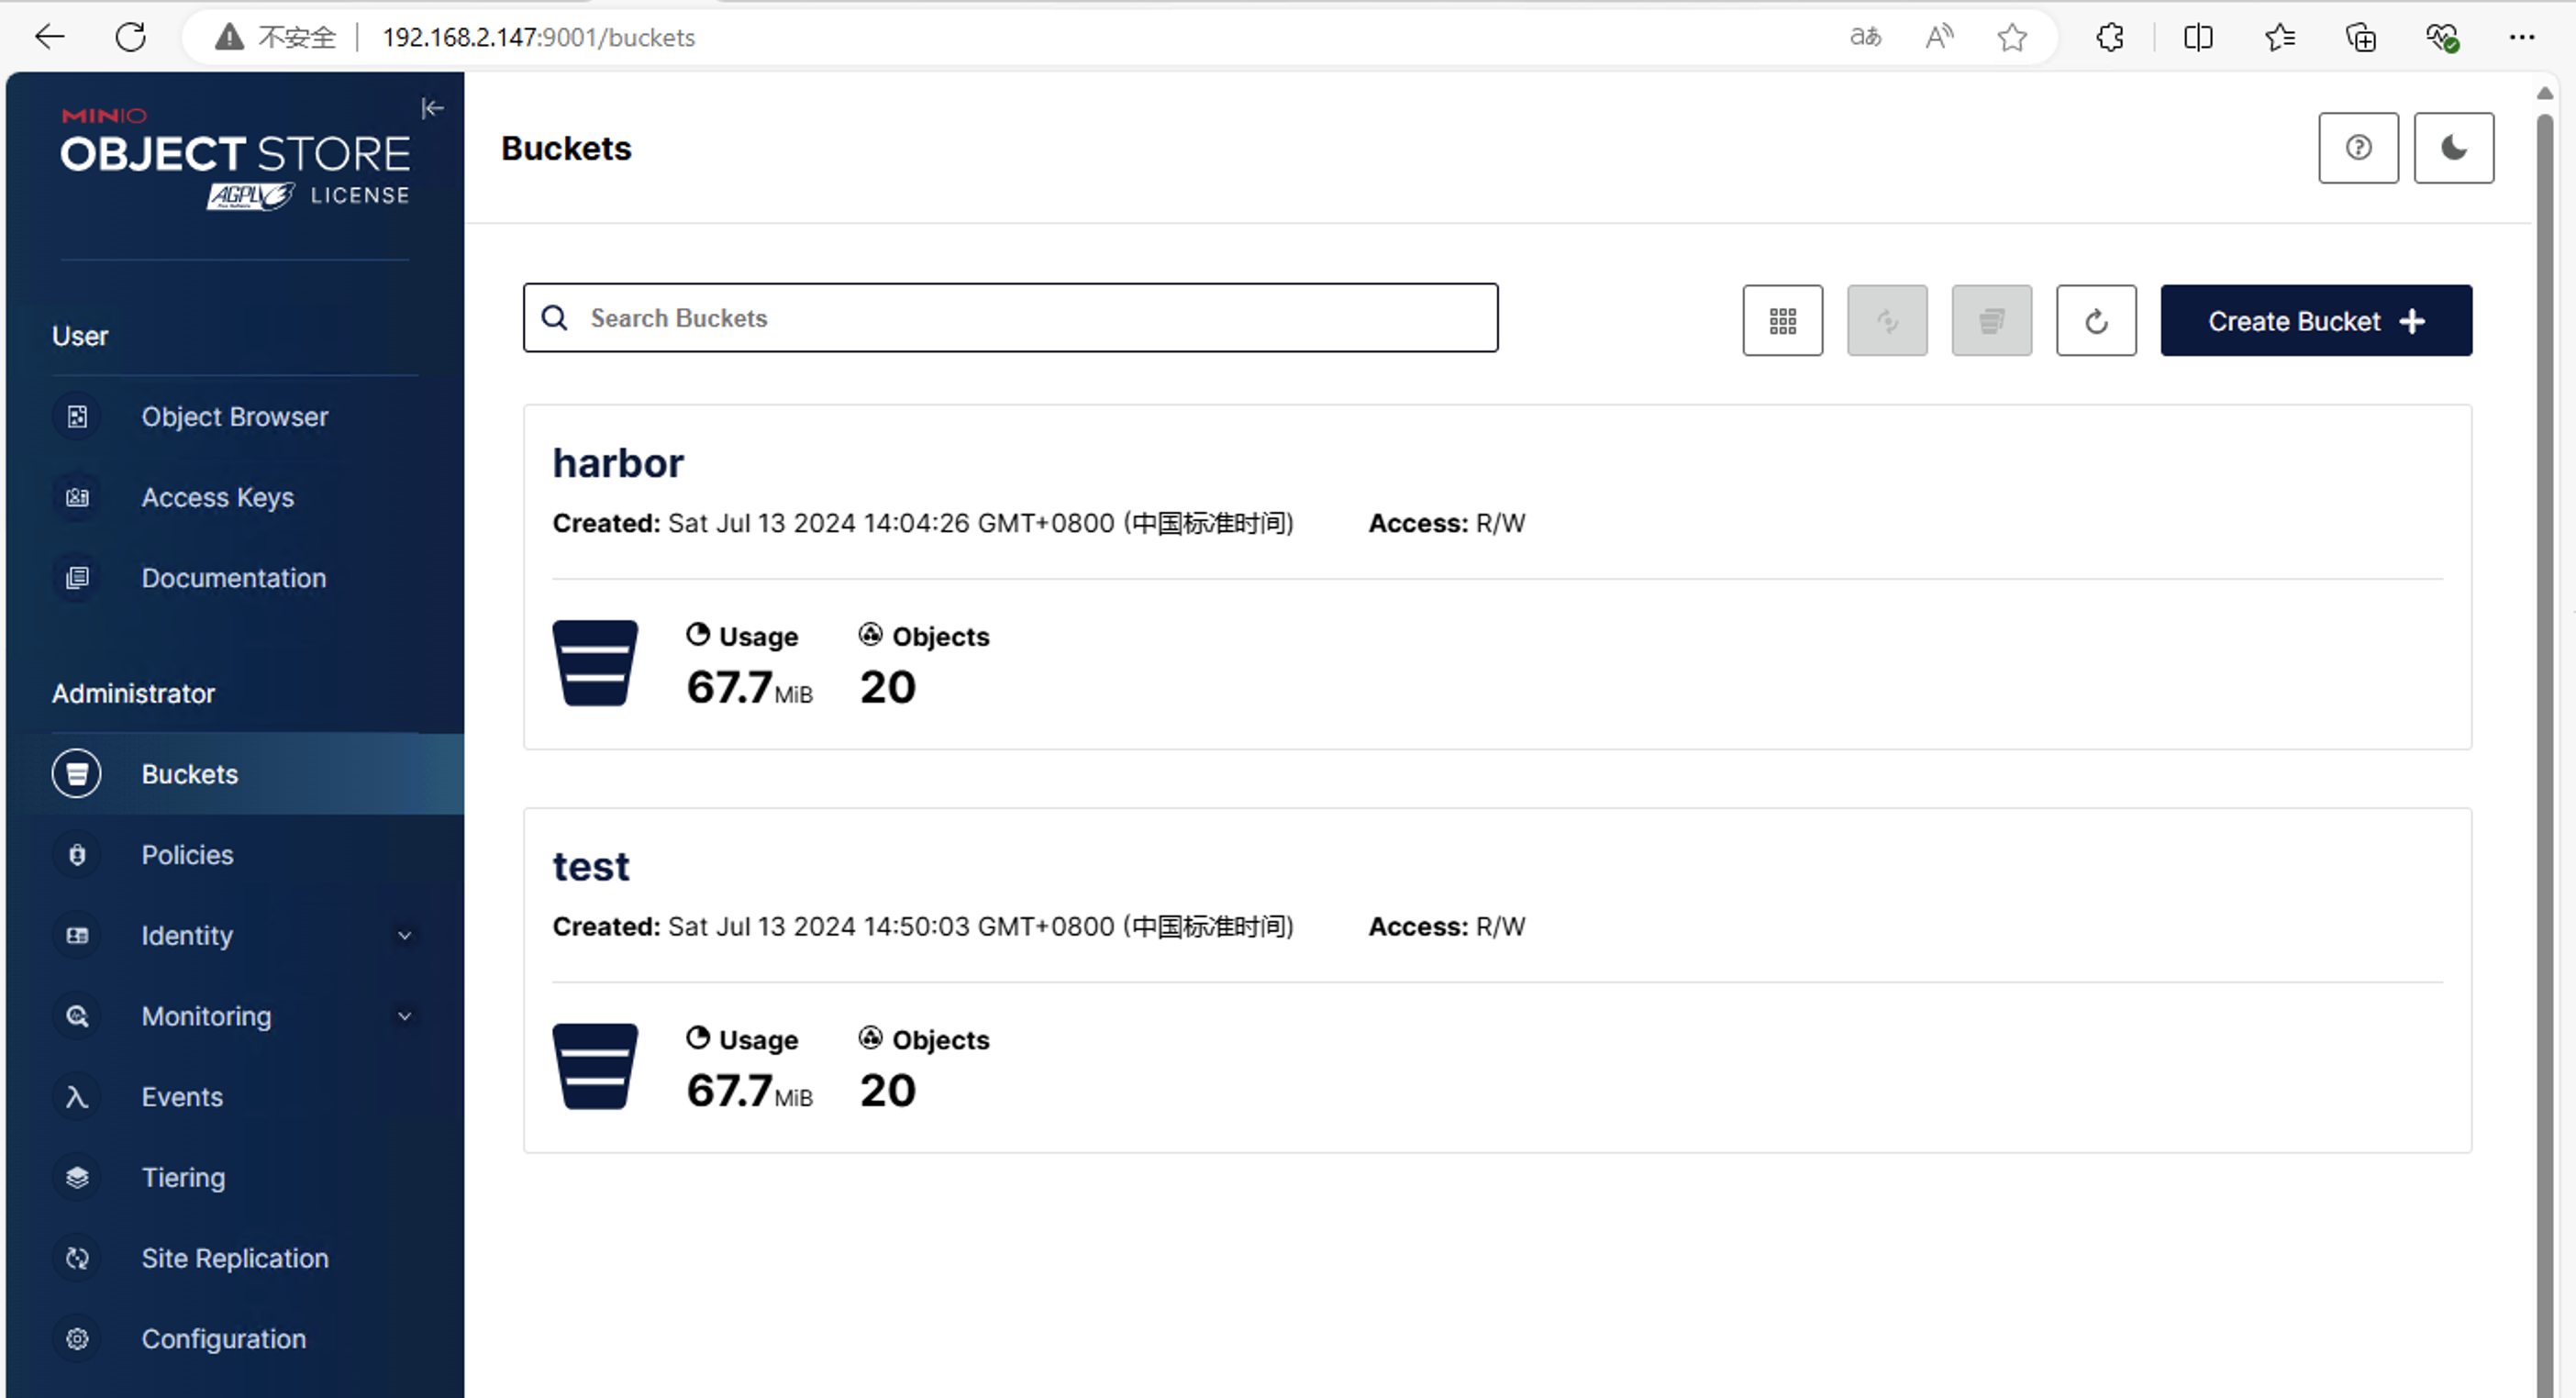
网页
查看
使用 velero minio 备份k8s
先创建认证文件 credentials-velero
1 | [default] |
安装1
2
3
4
5
6
7
8
9./velero install \
--image velero/velero:v1.15.0 \
--provider aws \
--bucket velero \
--namespace velero \
--plugins velero/velero-plugin-for-aws:main \
--secret-file ./credentials-velero \
--use-volume-snapshots=false \
--backup-location-config region=minio,s3ForcePathStyle="true",s3Url=http://10.68.219.99:9000
简单备份
1 | velero backup create backupk8s |

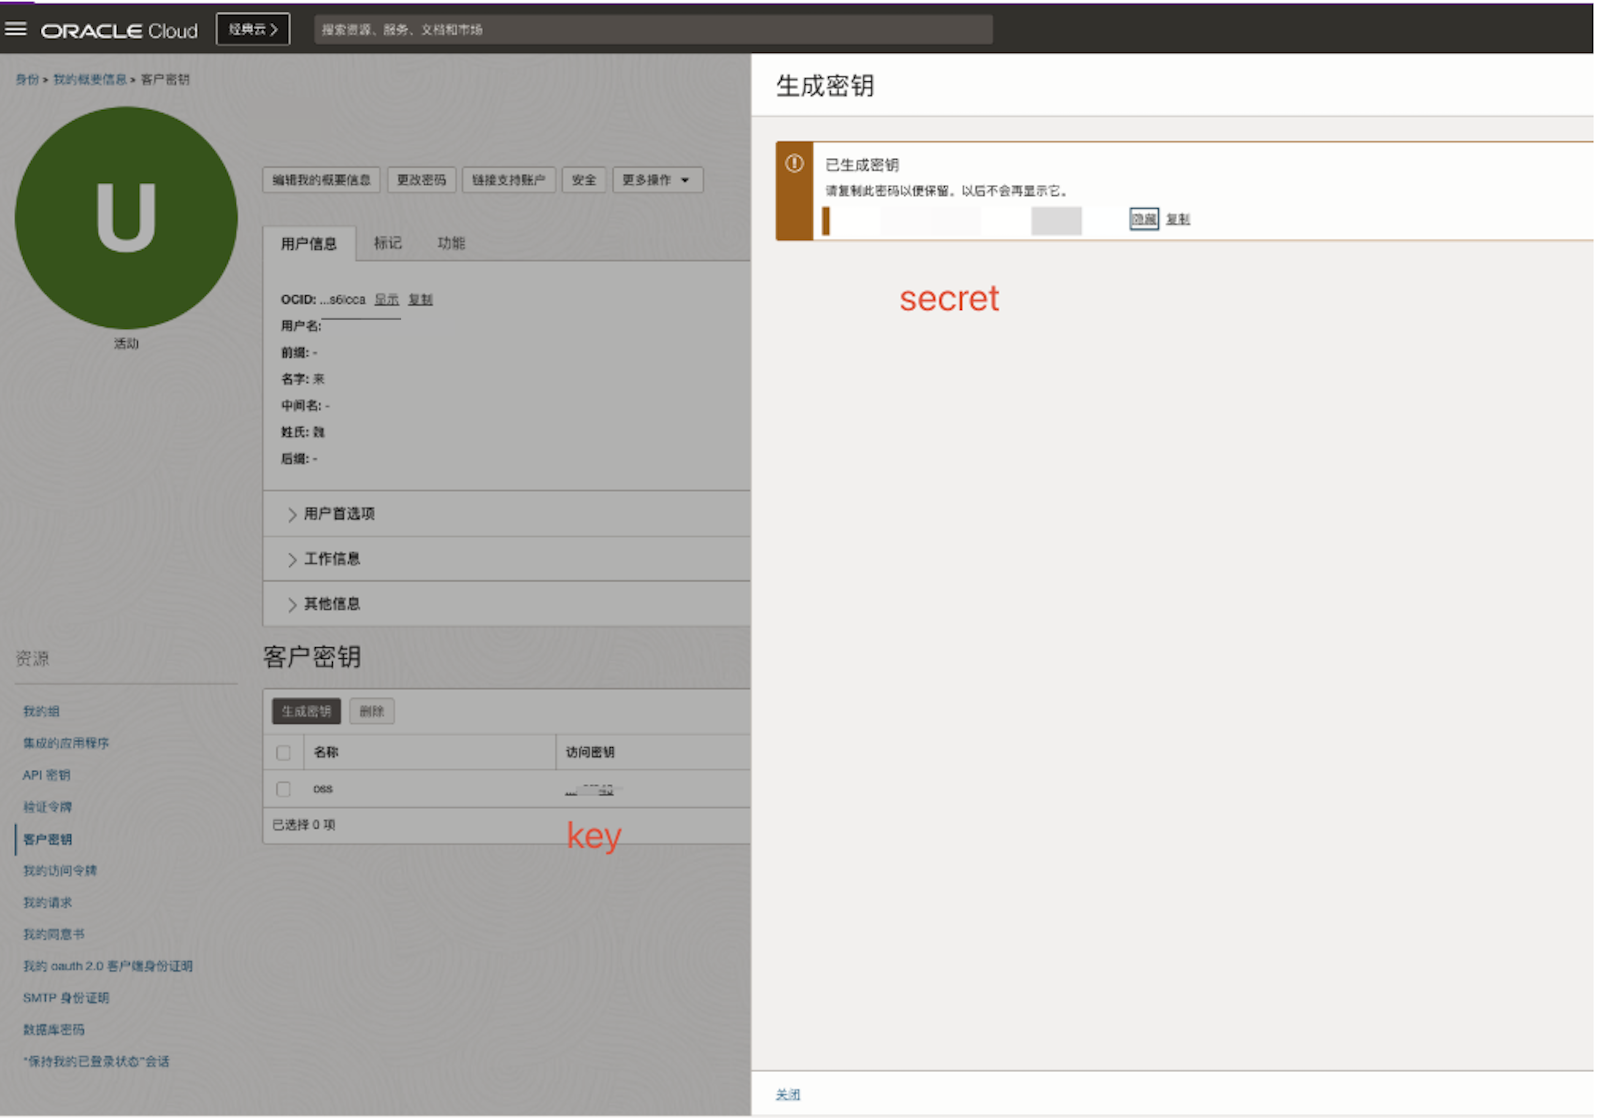
连接公有云的oss
连接 oracle cloud 对象存储
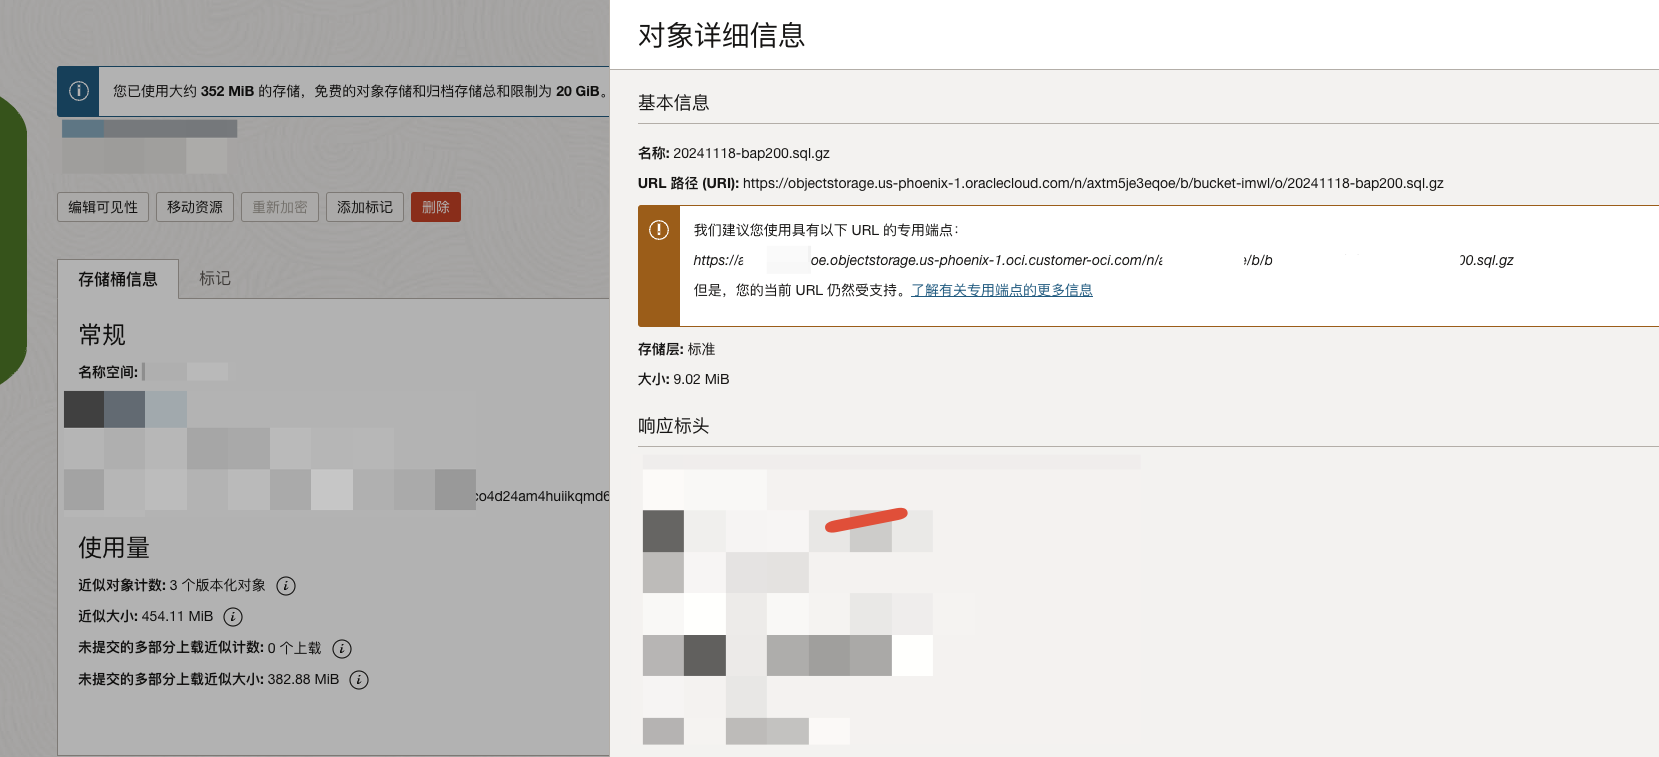
mc 连接
1 | # us-phoenix-1 为所在区域,按需修改 |
python 简单测试1
2
3
4
5
6
7
8
9
10
11
12
13
14
15
16
17
18
19
20
21
22
23
24
25
26
27
28
29
30
31import boto3
from botocore.client import Config
def init_s3(end_point, access_key, secret_key, region_name):
return boto3.client(
's3',
aws_access_key_id=access_key,
aws_secret_access_key=secret_key,
use_ssl=True,
region_name=region_name,
endpoint_url=end_point,
config=Config(s3={"addressing_style": "path"})
)
# 示例调用
region_name = 'us-phoenix-1'
ns='xxxxxx'
s3_endpoint = f"https://{ns}.compat.objectstorage.{region_name}.oraclecloud.com"
s3_access_key = "xxxxxxx"
s3_secret_key = "xxxxxxxxxx"
s3 = init_s3(s3_endpoint, s3_access_key, s3_secret_key, region_name)
try:
# 列出所有存储桶
response = s3.list_buckets()
for bucket in response.get('Buckets', []):
print(f"Bucket Name: {bucket['Name']}")
except Exception as e:
print(f"Error: {e}")
运行1
2
3$ python client.py
Bucket Name: bucket-imwl
Bucket Name: bucket-public
连接 阿里云
遇到的问题
1 | AccessDenied |
一般使用
1 | mc alias set aliyunoss https://oss-cn-hongkong.aliyuncs.com <AccessKey> <SecretKey> --api S3v4 |
连接火山引擎
当前无法使用 mc
https://www.volcengine.com/docs/6349/1288493
1 | 问题描述 |
使用 s3cmd, 需要做如下修改
cn-shanghai 是区域
1 | host_base = tos-s3-cn-shanghai.volces.com |